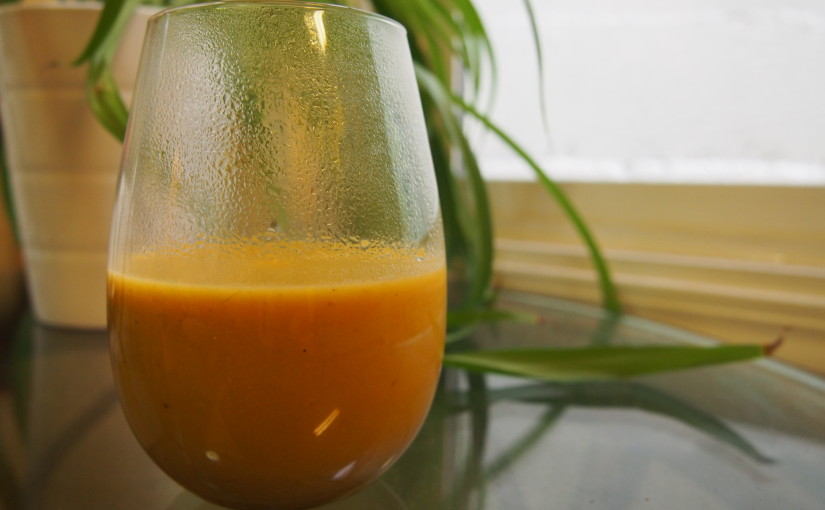

I’ve been on a slow cooking kick lately – since I’ve got more time at home to cook now, I worry a bit less about the time needed to properly make the recipes and techniques I want to try. Caramelized shallots with hand-cut ravioli? Sure! Slow-roasted pork shoulder? Why not. This morning, to use up a couple things floating around the kitchen before I head home for Thanksgiving, I tried a slowed-down take on one of my favorites, butternut squash soup.
Note: This recipe takes a while! Between roasting the squash and caramelizing the onions and waiting for things too cool, you’re better off saving this one for the weekend or day when you’re working from home, rather than trying to jam through it at 5pm.
Roasted Butternut Squash and Caramelized Onion Soup
Adapted from Smitten Kitchen’s Winter Squash Soup
Ingredients
- 1 butternut squash (mine weighed about 2 pounds)
- 1/4 cup (half a stick) unsalted butter
- 1 medium yellow onion
- 3-4 cloves of garlic
- Sherry or white wine for deglazing (a few tablespoons at most)
- 4 cups chicken broth
- 1/2 tsp dried thyme
- 1 1/2 tsp fresh sage
- 1 tsp ground cumin
- 1/2 tsp ground ginger
- 2 tbsp heavy cream (optional)
Making the Soup
- Preheat the oven to 400°F. While preheating, slice the squash in half lengthwise (from stem to butt) and rub the cut sides with olive oil. Place facing down on a foil-lined cookie sheet, and poke the skin side a few times with a fork to help release steam. When oven is ready, stick the cookie sheet on the middle rack and roast until soft (as with boiled potatoes, a fork should slide in without much resistance). It took mine about 30 minutes.
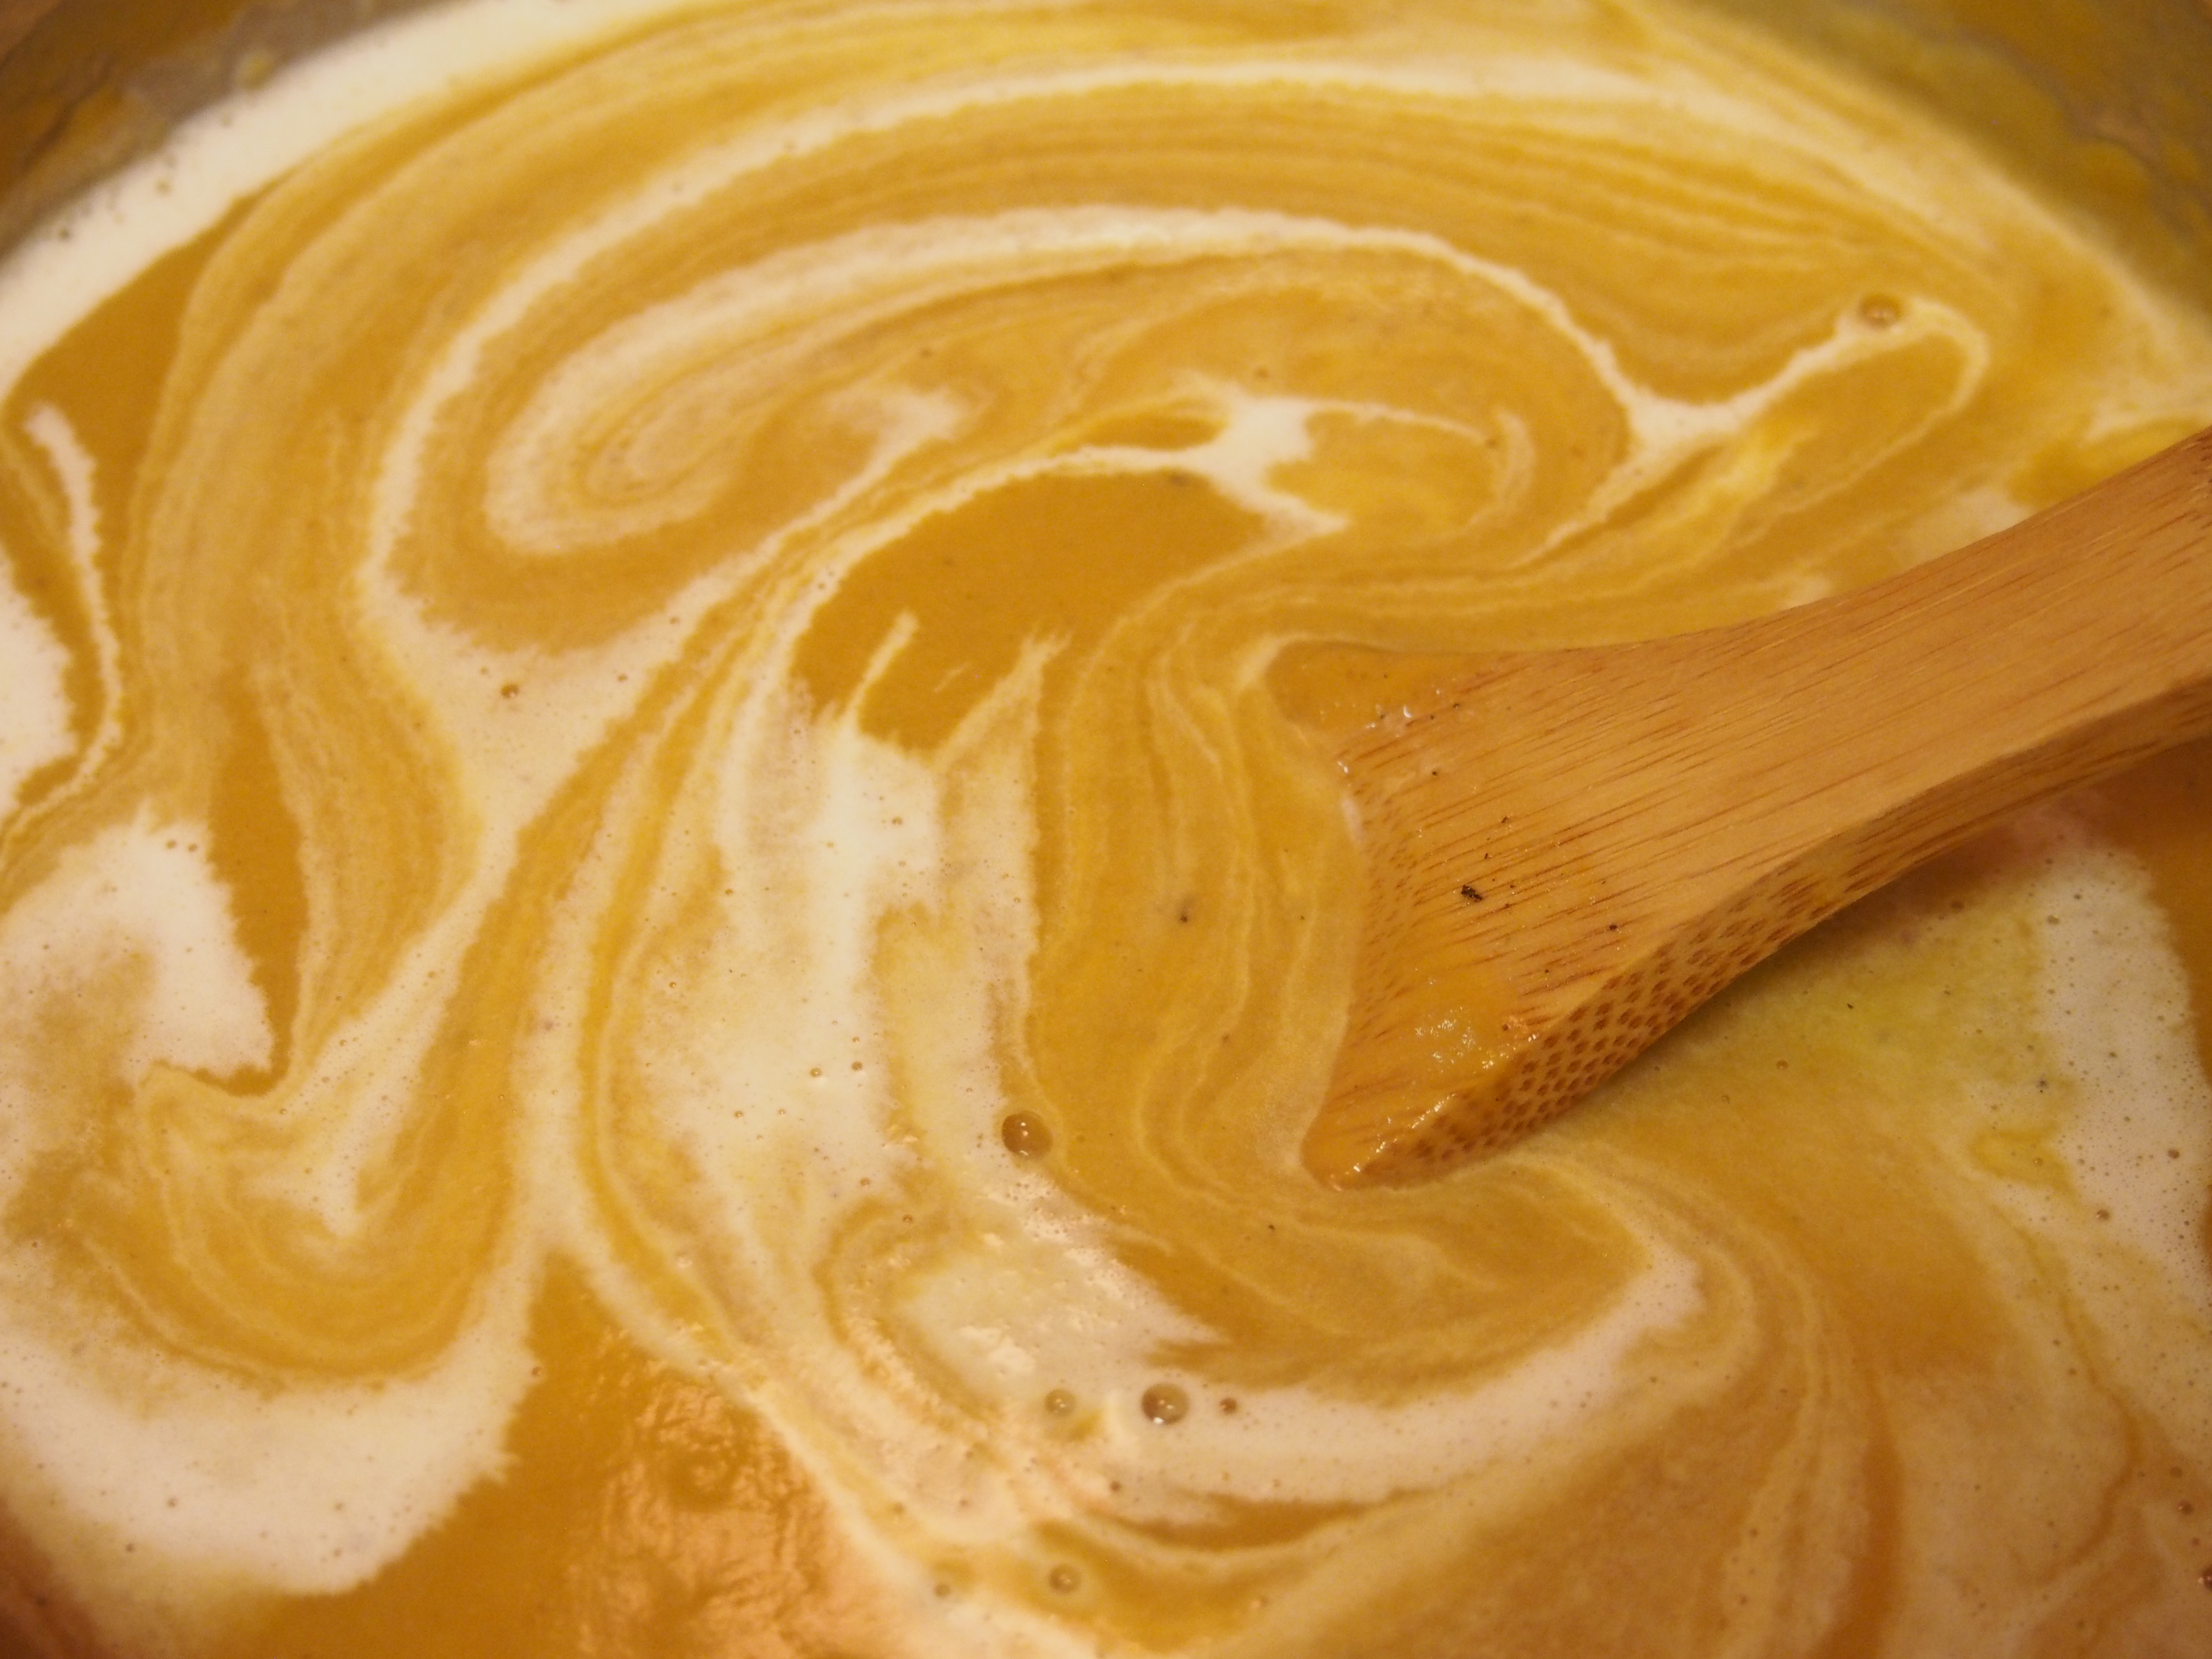
- While the squash is roasting, start your onions! Chop up the onion – the pieces don’t have to be too small or too perfect, because they’re going in a blender down the line, but aim to keep them roughly uniform. Add the butter to a medium-sized pot over medium heat, and once it’s melted then add the onions and turn down to medium low. Give it a stir then set a timer for 30 minutes. It’ll sizzle a bit, but the onions shouldn’t brown quickly at all — if they do, turn the heat down a bit but try to keep it at a nice steady burn. Every ten minutes or so (a little more frequently won’t hurt), give them a quick stir. They’ll start to smell amazing after ten or fifteen minutes, but don’t be tempted to stop them early. Caramelizing takes patience. Chop up the garlic and herbs while you’re waiting. Hopefully at some point in the onion caramelizing process, your squash has finished roasting. Take it out of the oven and flip them over to cool.

- At the 30 minute mark, add the chopped garlic to your onions and stir them around. The onions should be pretty brown and very fragrant now, and you’ll probably notice brown stuff getting stuck to the bottom of the pot. After about 7-8 minutes, throw a little bit of sherry or white wine into the pot and give it a stir — all the cooked-on stuff should dissolve and add another layer of deliciousness to your soup.
- Scoop the seeds out of the cooled squash and discard, then scoop the flesh of the squash into the pot. Add broth, herbs and spices. Bring everything to a boil, then turn the heat down and cover. Simmer for 20 minutes, then turn off. If you’re using an immersion blender you can go right on with the next step, but if you’re using a regular blender, let the soup cool for 10-15 minutes before you try to handle it.
- Working in batches, puree the soup to a smooth consistency and return to the pot. You might need to employ the use of an extra pot or bowl to keep your blended and unblended soup batches separate.
- If you’re adding heavy cream, add it now and give it a stir to incorporate. Then do a taste test and add salt to taste. You might also want to add additional seasonings like more cumin, pepper or paprika, depending on what you’re in the mood for. Serve immediately with toast, grilled cheese sandwiches or croutons, or cool down and freeze for a rainy day.