pain de campagne

Pain de Campagne (In Epi Format!)

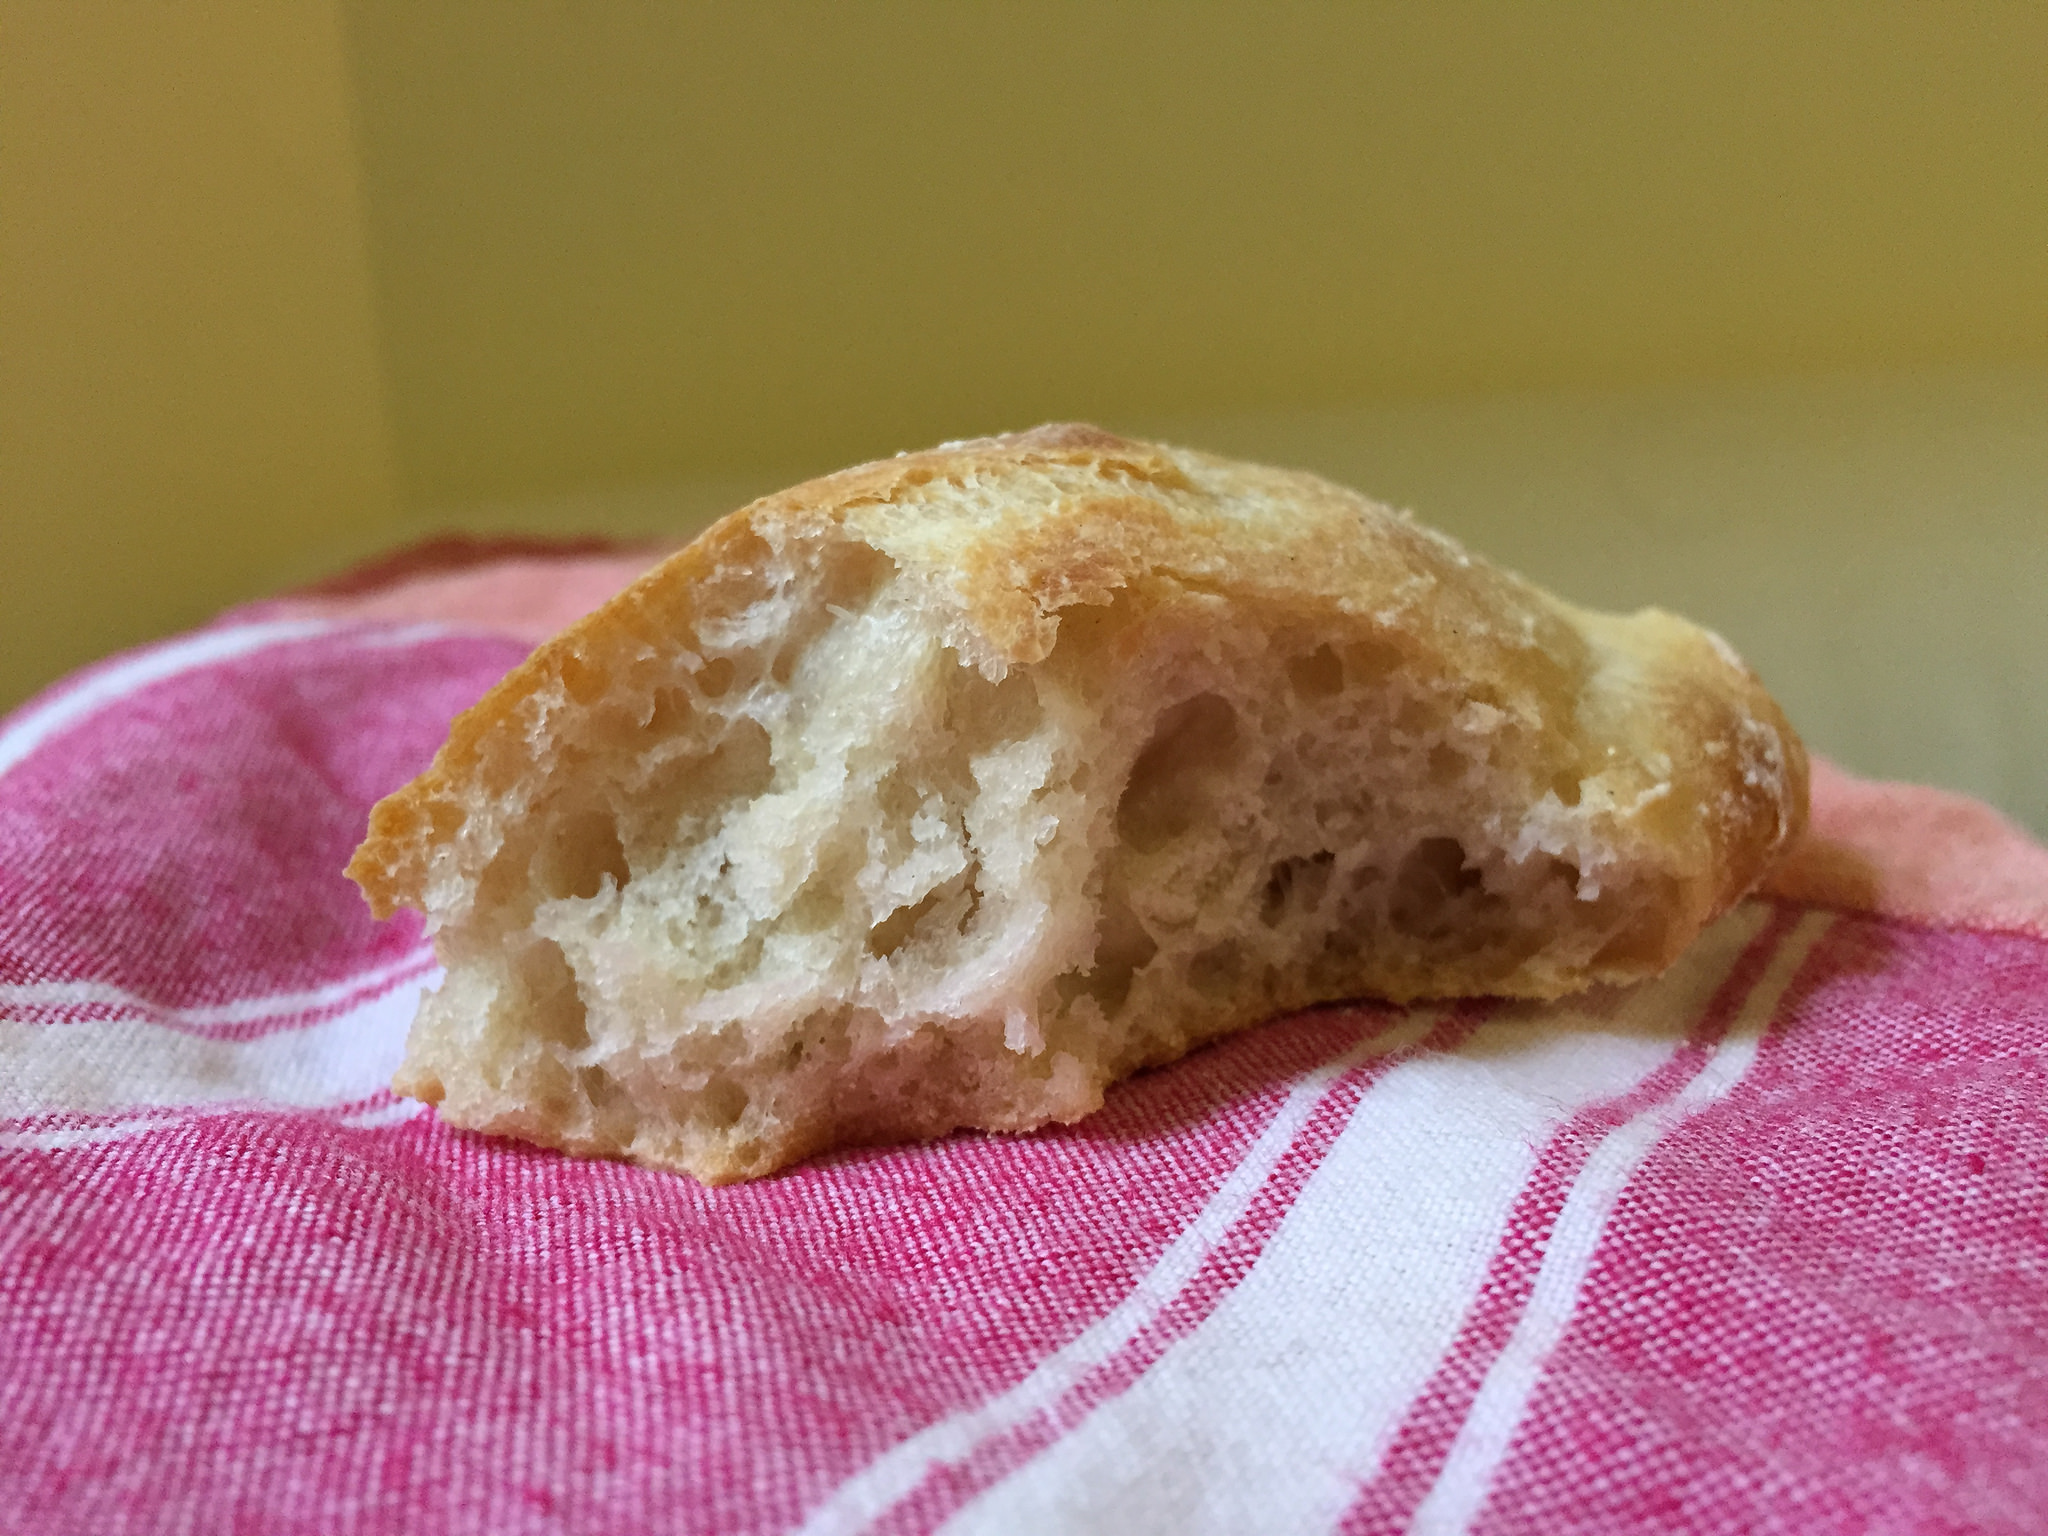
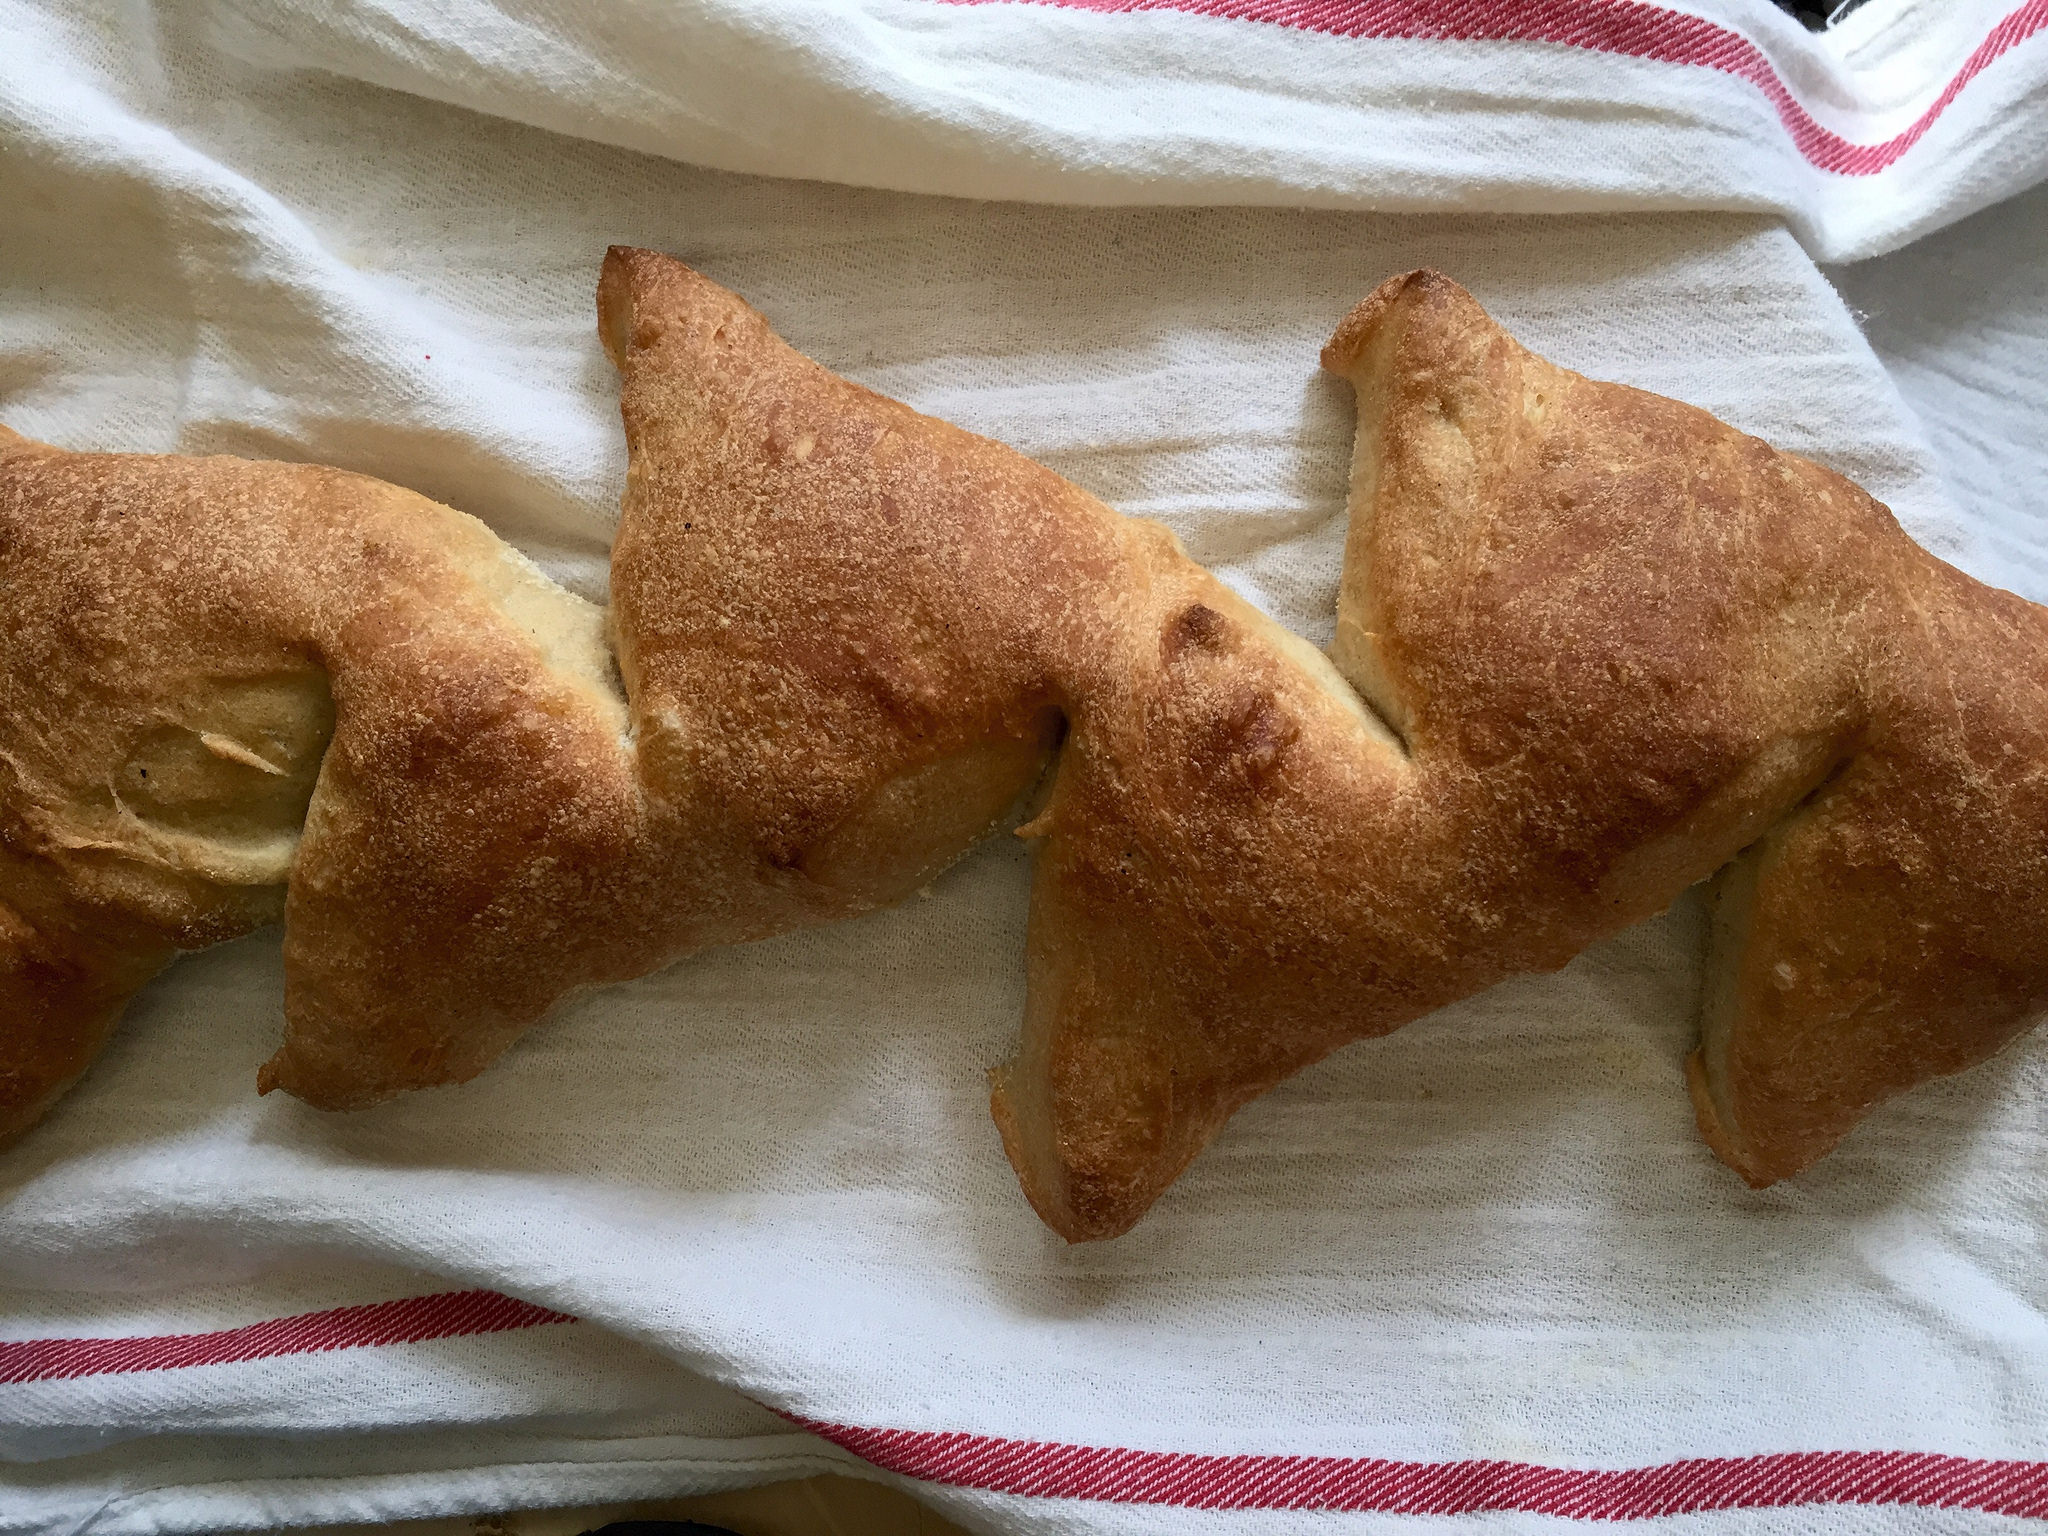
Anybody who’s ever gone into the Ferry Building in San Francisco will recognize the shape of this bread as one of the more popular ones at Acme Baking Co. It’s meant to look like a sheaf of wheat (clever clever), but I like it because it breaks apart into easy portions. Pain de campagne (or “country bread”) is a solid bread, straightforwardly simple and perfect for dipping in olive oil, slathering in butter, or sopping up sauces.

pain de campagne dough

Reinhart’s recipe is ever so slightly enriched with a little olive oil, so it doesn’t dry out as quickly as French bread. It has a touch of rye flour to make the flavor profile a little more interesting and complex. You can shape it practically any way you want, from simple loaves to rings to this fun epi. Pain de Campagne is a fun variation for when you want to make a loaf of bread that’s more interesting than plain-Jeanne French bread, but still want something versatile and accessible to everyone at the table. Except for your gluten-intolerant friends. Sorry, guys.

pain de campagne epi

Pain de Campagne

  • 3 cups pâte fermentée*
  • 1 3/4 cups unbleached bread flour
  • 1/3 cup rye flour**
  • 3/4 tsp salt
  • 1 tsp instant yeast
  • 3/4 cup lukewarm water
  • Semolina flour for dusting

*Make pâte fermentée at least the night (or up to three days) before you plan to bake the bread. For the recipe, check out my post on French Bread.

**Allergic to rye? You can substitute whole-wheat flour instead.

  1. Prepare the starter: Dechill the pâte fermentée before making the dough. Cut it into 8-10 pieces and cover, then sit for at least an hour.
  2. Make the dough: Stir together the dry ingredients, then knead in the pâte fermentée. Add water and stir until everything comes together into a coarse ball. Add a bit of water or flour if the dough feels too dry or wet — it should be soft and pliable, but not sticky
  3. Kneading: Turn the dough onto a floured counter and knead for 8-10 minutes. It should pass the windowpane test and register 77-81F when it’s done. Return to a clean, lightly oiled bowl and cover with plastic wrap.
  4. Let rise for about 2 hours, or until the dough has doubled.
  5. Shaping the loaves: Gently turn the dough out onto a floured surface, trying to deflate it as much as possible. Divide the dough into 3 equal pieces (use a sharp knife or pastry cutter to cut it cleanly and avoid degassing). Shape the dough into boules, baguettes or epis.
    1. To shape epis: shape into a baguette and place the dough on a sheet pan, covered in parchment that has been dusted in semolina flour. Then use a sharp pair of scissors to make angled cuts into the bread, alternating sides, without cutting all the way through. Fan the sections out into the “sheaf of wheat” shape. Mine were not as gorgeous as some bakeries, but it out worked okay.
  6. Let the dough rise for about 1 hour. It will rise to 1.5x its original size. Meanwhile, preheat the oven to 500F.
  7. Transfer the loaves to the oven, leaving them on the sheet pan if shaped into epis. Then pour the hot half cup of water into the steam pan and shut the oven. After 30 seconds, open the door and mist the walls of the oven with water (or sprinkle some in with your hand). Repeat twice more, then turn the oven down to 450°F.
  8. Bake for 10 minutes, then turn pan and continue to bake for 10-20 minutes, or until loaf is golden brown and sounds hollow when tapped.
  9. Let cool for at least an hour before slicing (or in this case, tearing apart) and eating.


pain a l'ancienne

Year of Bread: Pain a l’Ancienne

It’s commonly said that cooking is an art and baking is a science. And that’s pretty true; baked goods are a lot less forgiving when it comes to temperature, ingredient ratios and even minor tweaks to key ingredients. I’ve had many baking flops in which “I’ll just use this instead” ends in cookies that melt together, bread loaves that don’t rise, and cakes that taste awful. This bread takes the science side of bread to it’s logical extreme, with great results.

Bread Science!

The basic concepts of how bread works are pretty simple. Leavened bread relies on two things: gluten and yeast. Wheat flour has a lot of gluten in it, which is “developed” when you knead it; the long strands of gluten get jumbled up into stretchy webs of a sort, which is what gives the bread its crusty outside, chewy insides, and the elasticity it needs to rise. Yeast, the other primary ingredient in leavened bread, feeds on the sugars in bread and produces CO2 (yeast farts!). These CO2 bubbles get trapped in the glutinous dough, which stretches and forms air pockets (kind of like a balloon. If you let it rise for long enough this process will keep going until the bubbles get big enough that they burst through the gluten web and the dough deflates. When you bake bread, you essentially freeze the rising action by solidifying the structure of the bread and killing the yeast.

Pain a l’Ancienne relies on an exaggerated version of this process — along with slow fermentation practices, to produce more flavorful, crusty bread. The dough is relatively wet, which provides a great environment for long, stretchy gluten molecules to form.  It starts with ice water, which keeps the yeast from “waking up” while you hydrate the flour, and continues with a night in the fridge to keep temperatures low. Very slowly, the yeast start doing their thing, at which point the starches in the flour have broken down into easy to eat (for yeast) sugars. In a nutshell: in theory, you can get the maximum amount of flavor with this method.fermenting dough

My Loaves

Basically, this bread has all the floppiness of ciabatta, but with the attempted shaping of a baguette. It wasn’t easy to work with at all, and I ended up with three very deflated-looking dough blobs. Not exactly appetizing. To put it nicely, they baked up looking extremely rustic. However…

They tasted great! The crumb was moist and creamy, and they had a nice crusty exterior. The flavor was well-developed and wheaty, much like a traditional baguette. And much like a baguette, they don’t last long. They’re awesome on the first two days, but after that they’re best for feeding ducks at the pond.

I’m not sure if I’ll make this Pain a l’Ancienne again. It was really fussy to work with, and while the results were delicious, I wouldn’t say that the pain-in-the-butt process of making them was worth it compared to other recipes that I like just as much. It was a fun exploration in the science behind bread, and I’d recommend every ambitious bread baker try it…once!sad bread dough

…No Recipe?

Because I didn’t love this recipe– and because I didn’t make any changes to the original — I’m not posting the recipe for Pain a l’Anciennce. Buuuut I’ll be back next week with more recipes and some fun experiments in the kitchen. 🙂