multigrain bread

Year of Bread: Everyday Multigrain Bread

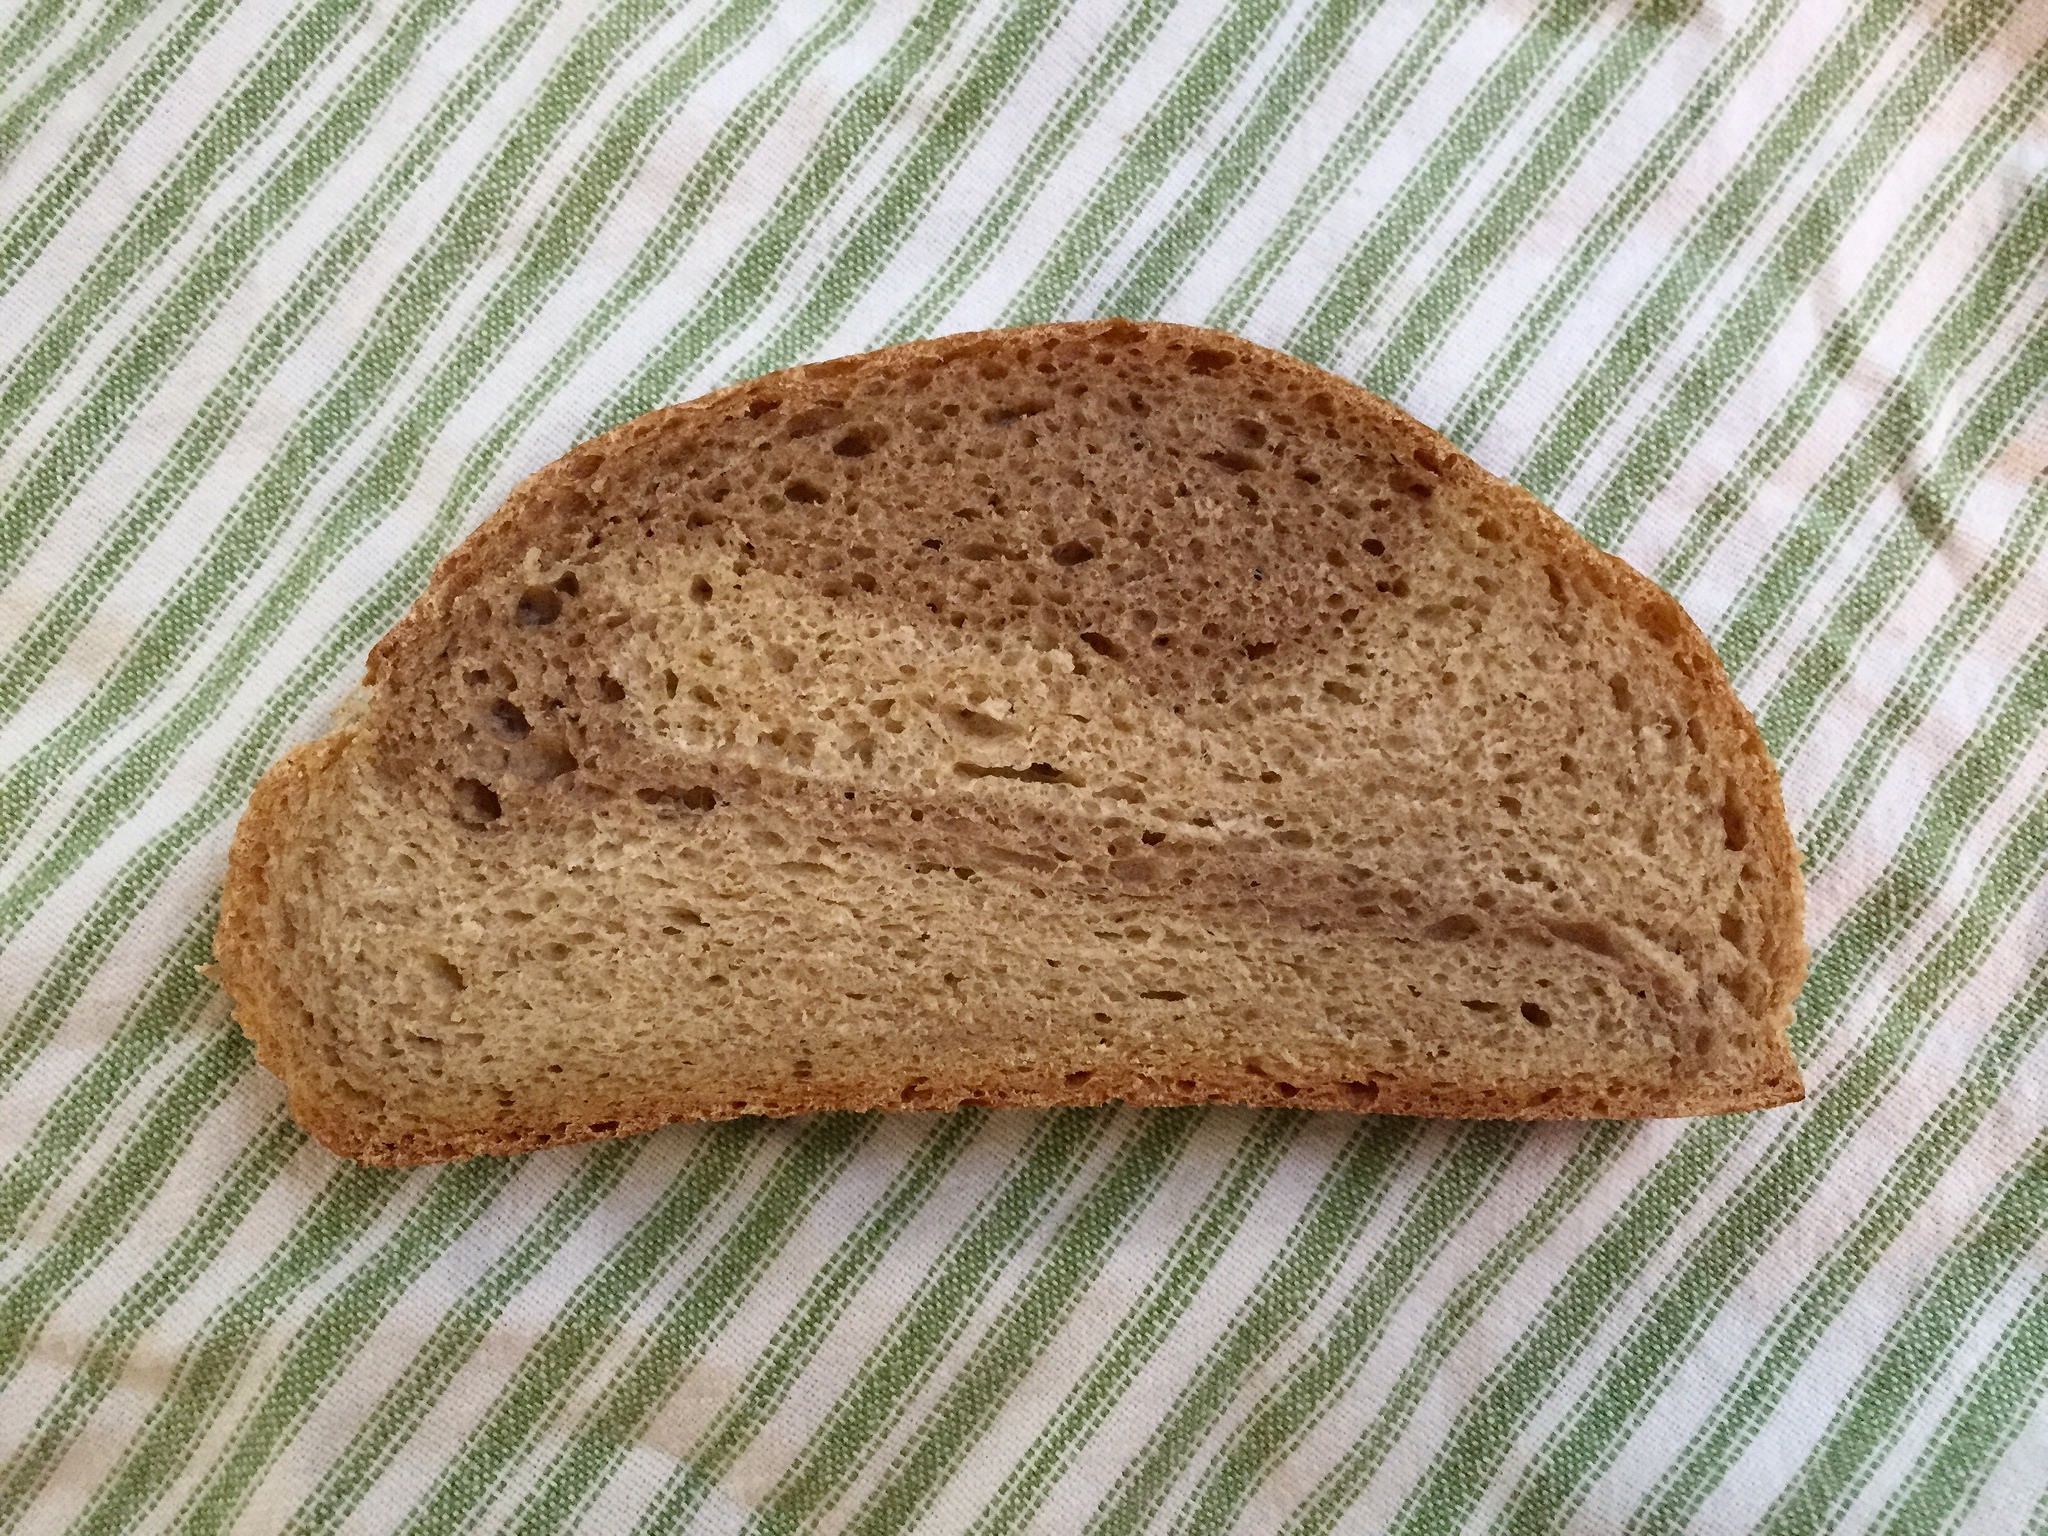
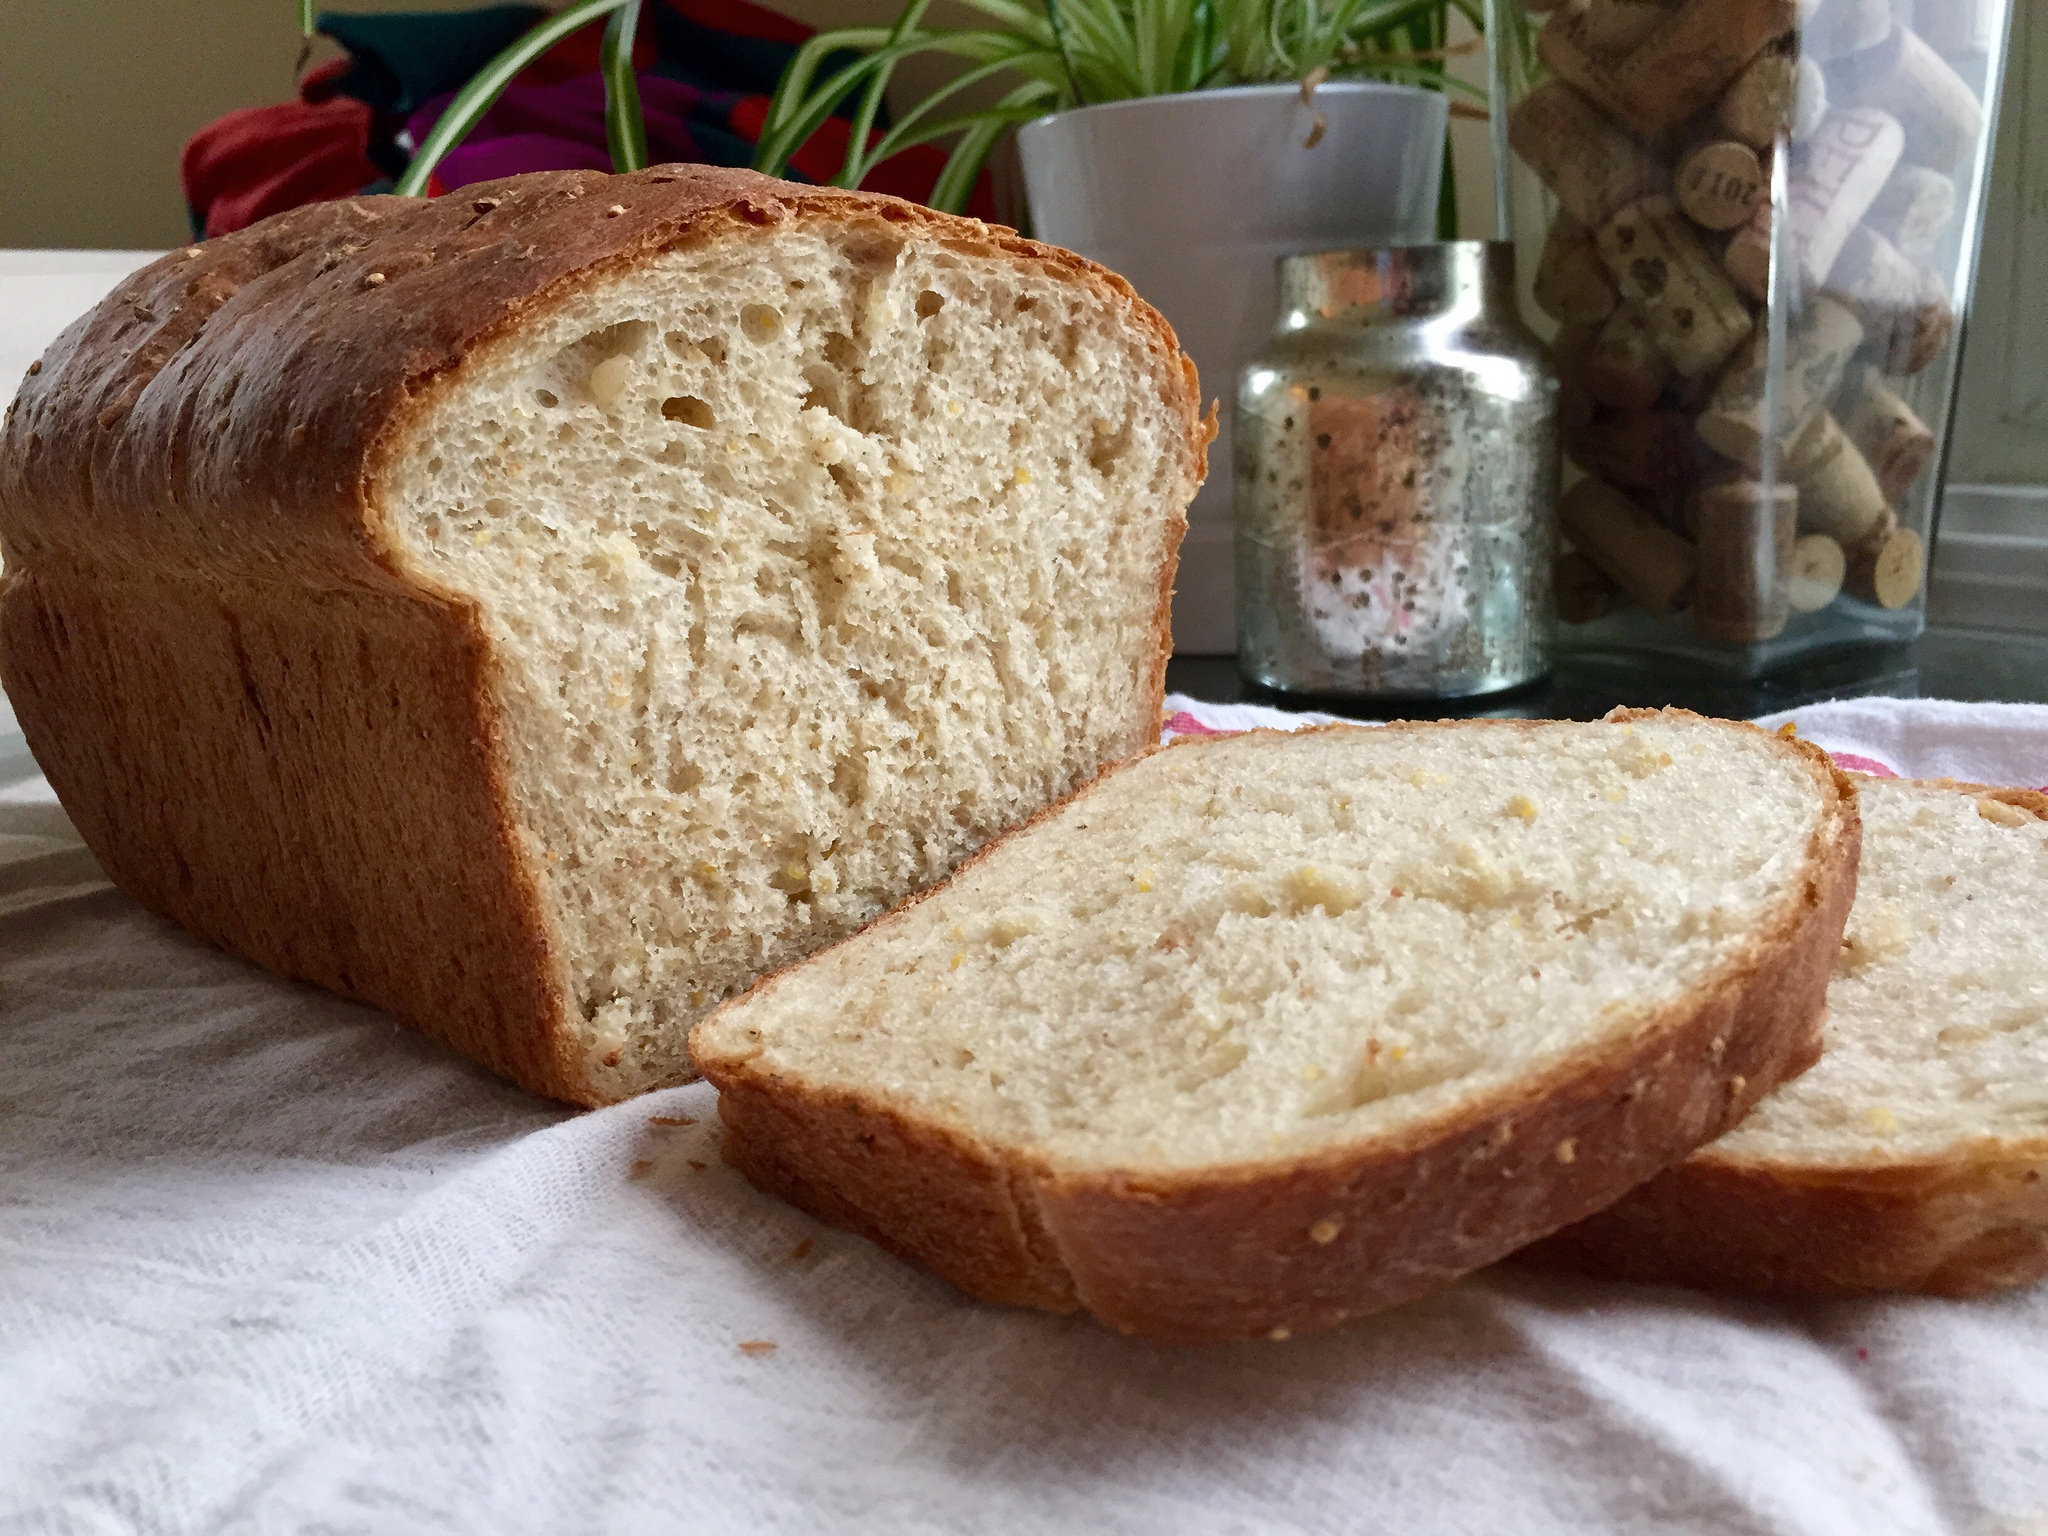
The kind of bread I want to eat every day is grainy, flavorful, but neutral — something that I can slice and eat by itself, or toast, or make a sandwich. The kind of bread you’d get at the store off the shelf. But better.

This is that kind of bread.

Like the Anadama from back at the beginning of my Year of Bread, this multigrain bread starts with a cornmeal soaker. It’s not a preferment in the technical sense (no baker’s yeast), but it does help with developing flavor and softening the whole grains to make the final product better. I used a truly multigrain mix of cornmeal, quinoa, oat and rye flakes, and wheat germ. The original recipe called for wheat bran, but I made a substitution since I had a hard time finding wheat bran (and like the taste and texture of wheat germ better).

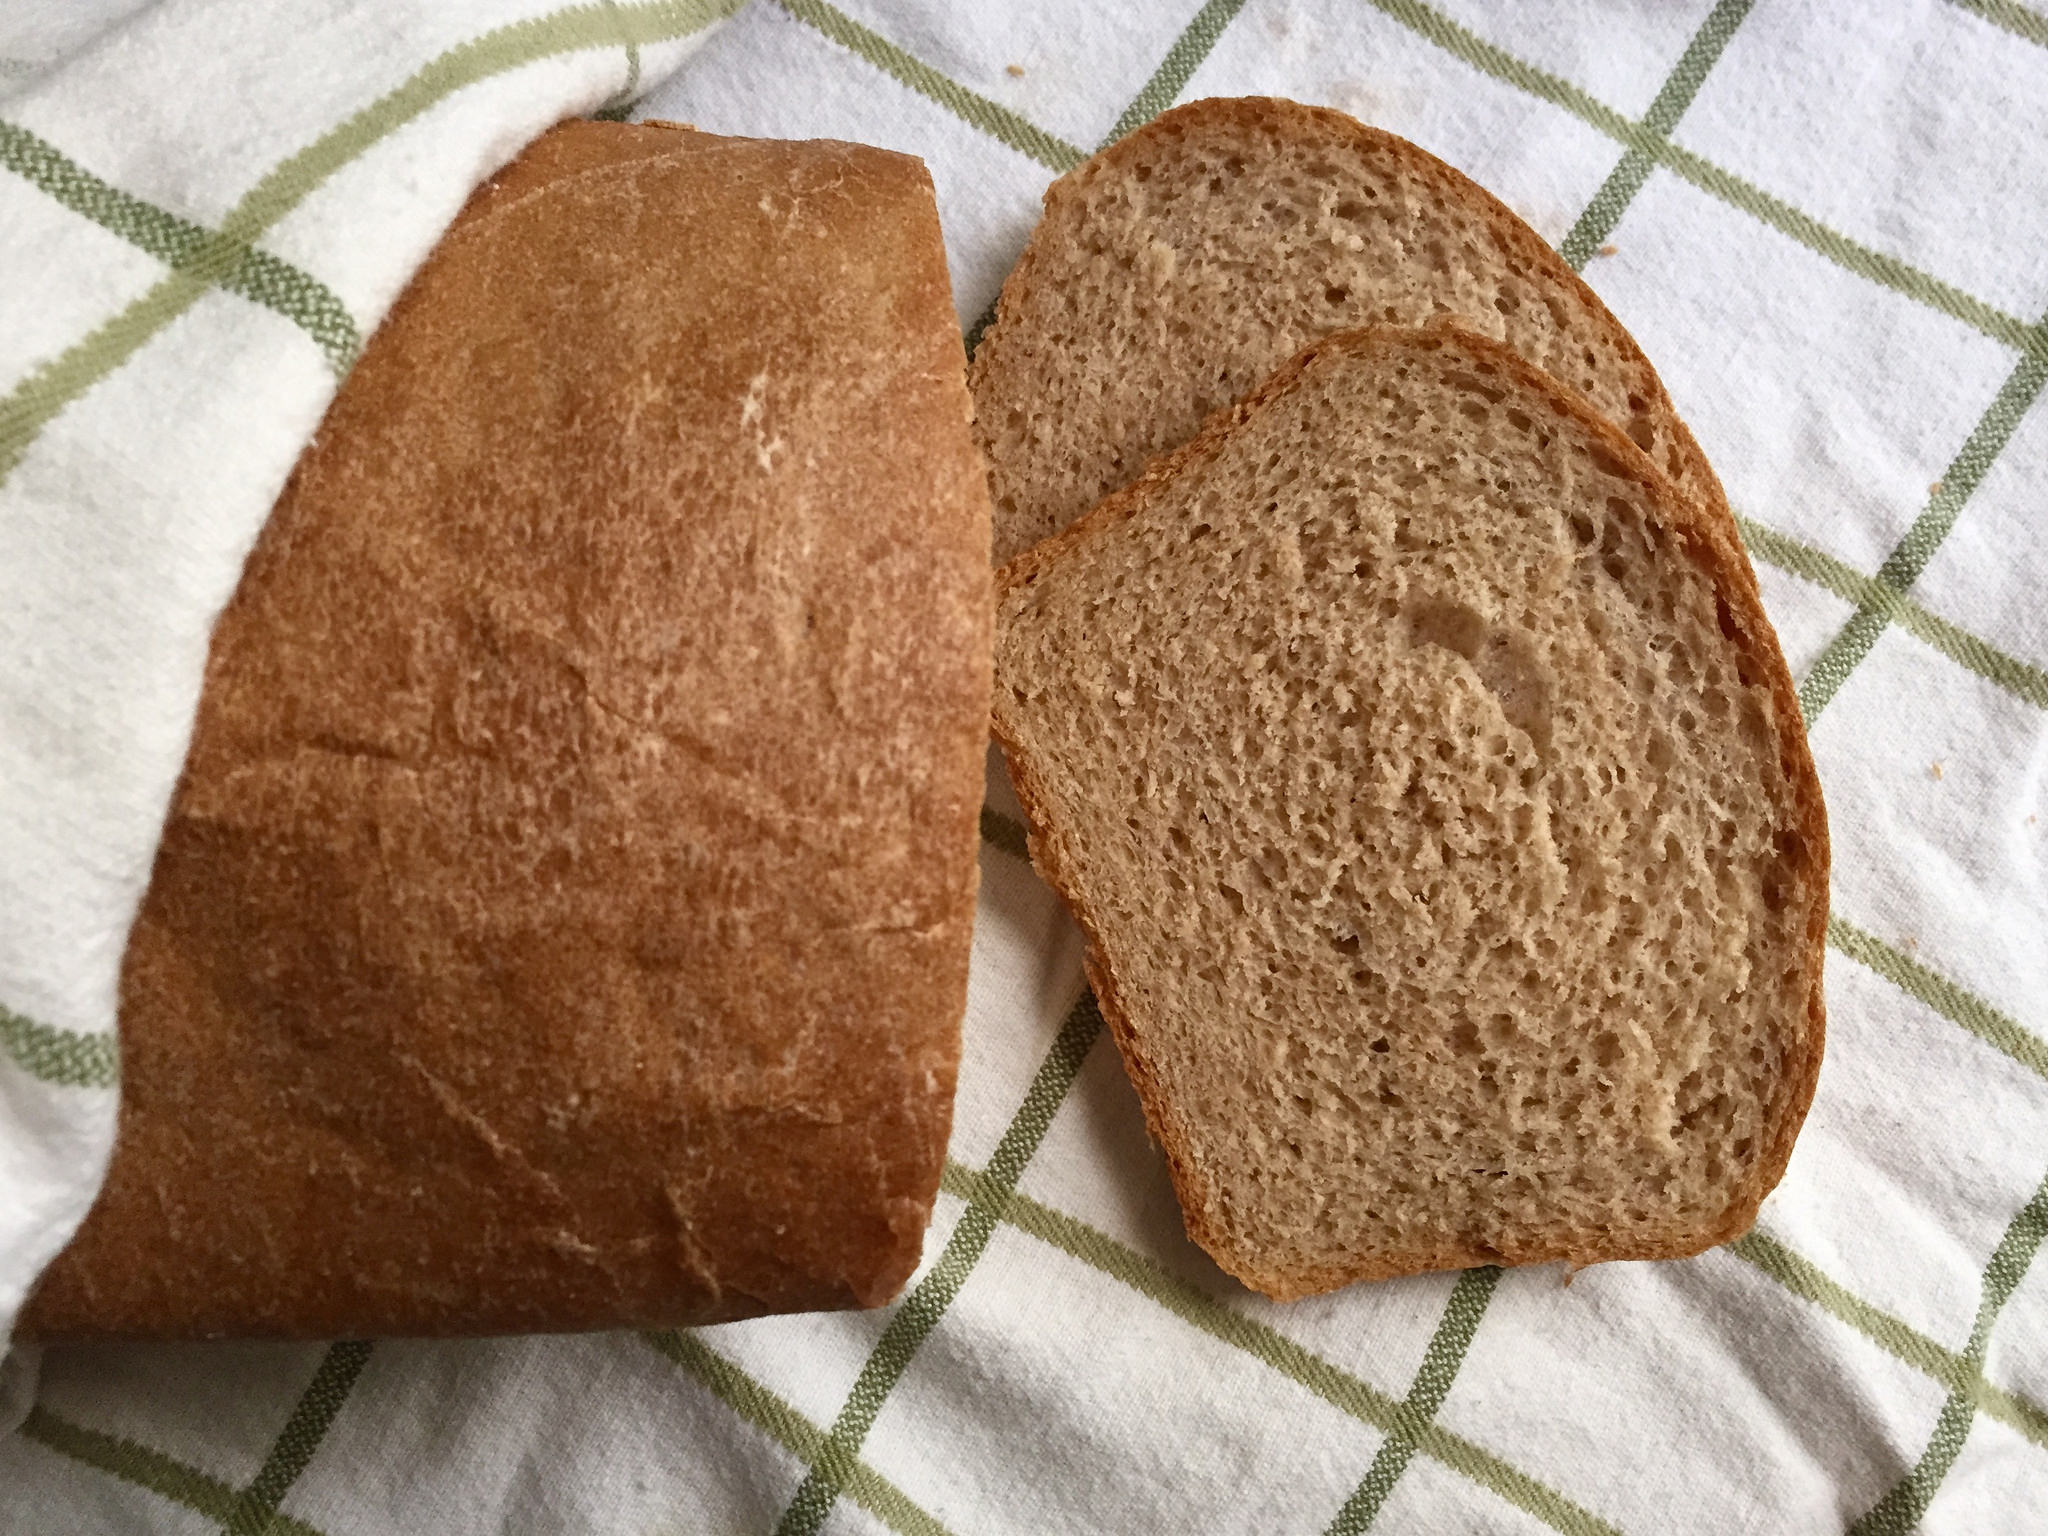
Multigrain breads usually end up being a hodgepodge of whatever’s in the cupboard, but I kind of like that about them. You could add a sprinkling of wheat bran, oats or even sunflower seeds to the top of this bread, but in general my experience has been that such things just end up falling off anyway, and this bread has enough flavor and texture that it doesn’t need any further embellishment.

multigrain bread


Everyday Multigrain Bread

Slightly adapted from Peter Reinhart’s The Bread Baker’s Apprentice. Yields one 2 lb loaf. 

Ingredients

Soaker

  • 3 tbsp rolled oats, or a combination of oat and rye flakes
  • 2 tbsp cornmeal
  • 2 tbsp wheat germ (or wheat bran)
  • 1 tbsp quinoa
  • 1/4 cup water, room temperature

Dough

  • 3 cup unbleached bread flour
  • 3 tbsp brown sugar
  • 1 1/2 tsp salt
  • 1 tbsp instant yeast
  • 3 tbsp cooked brown rice
  • 1 1/2 tbsp honey
  • 1/2 cup milk
  • 3/4 cup water, room temperature
  1. Prep the soaker: The night before you want to make your bread, combine the dry soaker ingredients in a small bowl, then cover with water. Stir with a spoon to combine– you might want to add just a few teaspoons more water to make sure that everything is hydrated.
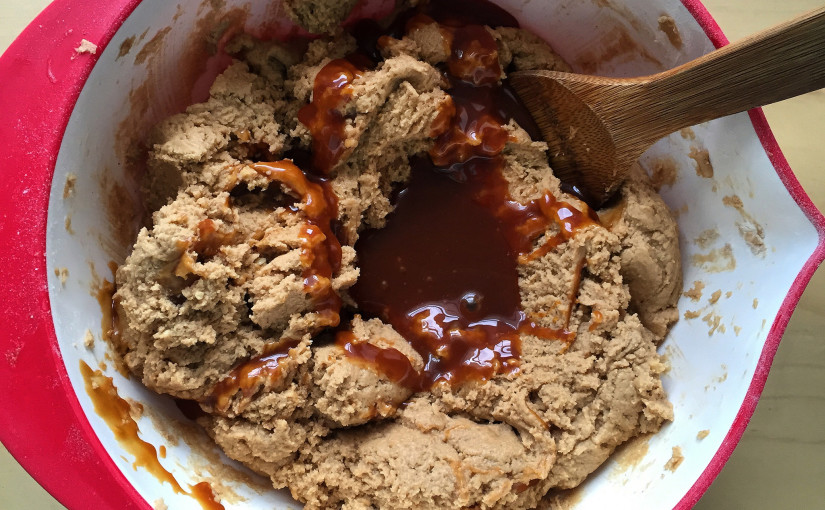
  2. Mix the dough: The next day, combine the flour, brown sugar, salt and yeast in a bowl. Add the hydrated soaker and the cooked brown rice and stir to combine, then add the honey, milk and water. The dough will be very sticky at first, so keep stirring it in the bowl and add flour as needed until it comes together — if you turn it out for kneading too soon, it will just stick to everything. After a few minutes of mixing the dough should firm up a bit and you can turn it out onto a floured surface. Knead by hand for 12-15 minutes.
  3. Ferment the dough: Transfer the dough to an oiled bowl and cover with plastic wrap. Let rise for about 90 minutes; the dough should double in size.
  4. Shape the loaf: This bread does really well in a loaf pan! Grease your loaf pan to prep, then carefully turn the dough out onto a very lightly floured surface. Gently press it into a rectangle, then roll up, pressing the seam of the loaf as you go to form a tight surface, until the dough is a neatly shaped log. Place in the loaf pan and cover with plastic wrap. Let rise for another 90 minutes; the dough will crest fully above the lip of the pan.
  5. Bake the bread: Preheat the oven to 350° when the bread is getting close to fully risen. When the oven is ready, place the pan in the oven on the middle shelf. Bake for about 20 minutes, then rotate the pan 180° and continue baking for 20-30 minutes. The loaf will be golden brown and sound hollow when tapped from the bottom when it’s done.
  6. Immediately remove the bread from the loaf pan and transfer to a rack to cool. Let cool for at least 1 hour before slicing and serving.
marble rye bread slice

Year of Bread: Marble Rye

Seinfeld fans will remember that the much-coveted loaf of marble rye was the source of much anxiety and borderline elder abuse in the episode “The Rye,” but you don’t have to go to New York to have some of your own– this recipe for marble rye from The Bread Baker’s Apprentice isn’t too hard to make and is delicious.

Don’t Overwork the Dough

Now that I’ve been working with rye flour for a few weeks, I’ve learned some interesting stuff about it as an alternative to plain ol’ wheat flour. Rye flour has some unique properties, most importantly that it doesn’t have as much gluten as wheat flour, so it needs to be treated a little differently when making bread dough. The intensive kneading we do with wheat flour dough is meant to maximize gluten development, but because rye flour has less gluten, it won’t develop those long gluten strands to the same extent. In fact, rye flour can become gummy if it’s overworked, so it’s important to not overknead the dough.

As a result of its less-efficient gluten development, rye dough tends to be less stretchy than wheat dough, and it does a poor job of forming air bubbles as bread rises. Rye bread will generally be denser, with smaller holes than a wheat bread. It also doesn’t benefit as much from long fermentation and long rises as much as wheat flour. This recipe has a combination of high-gluten wheat and rye flours, so this marble rye isn’t as dense as many 100% rye bread formulas, and you’ll have a little more flexibility when it comes to working with the dough.

marble rye dough balls

Balancing Act

The only real challenge with this bread is that you’re using two different doughs — a dark rye, which has an extra ingredient for darker coloring, and light rye. If you end up with two doughs of different consistencies, they might not bake at the same rate– which would mean a loaf with some parts overcooked and some parts undercooked.

This isn’t the hardest task in the world, but it is important to check that the feel of each dough portion is (more or less) similar. You might have to add a little extra flour or water to one (or both) of the doughs to get them to the right consistency. As long as you’re aware of this as you’re preparing each portion, it’s nothing to stress out over.

marble rye complete

Marble Rye Bread

From Peter Reinhart’s The Bread Baker’s Apprentice. Yields 1 large loaf. 

Ingredients

Light Rye

  • 3/4 c white rye flour*
  • 1 1/2 c unbleached bread flour
  • 3/4 tsp salt
  • 1 tsp instant yeast**
  • 1/2 tbsp molasses
  • 1 tbsp butter, softened
  • 5-6 ounces of water, room temperature

Dark Rye

  • 3/4 c white rye flour*
  • 1 1/2 c unbleached bread flour
  • 3/4 tsp salt
  • 1 tsp instant yeast**
  • 1/2 tbsp molasses
  • 1 tbsp butter, softened
  • 5-6 ounces of water, room temperature
  • 1 tbsp cocoa powder or coffee powder dissolved in 2 tbsp water
    • or 1/2 tbsp liquid caramel coloring

Egg Wash

  • 1 egg, whisked with 1 tsp water until frothy

Notes:

*Finding white rye flour can be surprisingly challenging. You can substitute dark rye flour with a portion replaced with regular bread flour to somewhat the same effect; for this recipe swap 1/4 cup of dark rye flour for wheat flour.

**If you’re worried, as many new bakers are, about your yeast not rising, be sure that you use yeast from the same batch/package for each dough segment. That way if it doesn’t rise well, they’ll flop equally. 🙂

To ensure that the rising time for each dough section is correct, I like to premix the dry ingredients for each section before I start mixing in the wet ingredients. 

  1. Make the Light Rye Dough –  Combine the dry ingredients for the “light rye” in a large mixing bowl, then add the molasses, shortening, and 5 ounces of water. Stir until the ingredients form a ball, adding the extra water as needed. Transfer to a floured counter and knead for 4-6 minutes by hand. The dough should feel supple and pliable, and shouldn’t be too sticky or too dry. Transfer to an oiled bowl and cover with plastic wrap.
  2. Make the Dark Rye Dough – As with light rye, combine the dry ingredients from the “dark rye” section, then add wet ingredients. Stir until a ball forms, adding water or flour to adjust the consistency. Aim to match the consistency of the light rye dough. Transfer to a floured counter and knead for 4-6 minutes by hand, then transfer to an oiled bowl.
  3. Ferment Doughs – Let both doughs rise for about 90 minutes, or until they are doubled in size.
  4. Shape the loaf – For a swirl effect, turn one of the doughs out onto a lightly floured counter and press into a rectangle, then repeat with the second, making the inside dough slightly smaller. Roll them into a spiral log. For a truly “marbled” loaf, cut each dough into 6 evenly-sized pieces and press them into a pile. Regardless of which method you choose, form the log of dough into a tight batard. Cover the loaf with an oiled piece of plastic wrap on a baking sheet and let rise for 60-90 minutes. Preheat the oven to 350°F.
  5. Bake the loaf – When the loaf is ready to go in the oven, gently brush the egg wash over the entire surface of the loaf, then place the loaf in the oven. Bake for about 45 minutes, turning once halfway through for even baking. The loaves should make a hollow sound when tapped from the bottom.
  6. Let cool for at least an hour before slicing and serving.
light wheat bread slices

Year of Bread: Light Wheat Bread

I love a good loaf of something fancy and decadent. But on the average day, I usually just want a decent piece of wheat bread to toast up and slather with peanut butter. The nice thing about this recipe for light wheat bread is that it’s quick and fool-proof to make. Bread with whole wheat flour requires less dough kneading, and does best with a shorter fermentation time than white bread. This light wheat bread loaf won’t last as long as a store-bought loaf, but otherwise it looks and acts pretty much like something you’d buy at the store.

Last year The Kitchn ran a recipe for insanely decadent $10 toast, which featured a piece of homemade toast slathered in imported butter, artisanal jam, local honey, fresh peanut butter, sea salt and edible gold flakes. While I didn’t try it out myself, I also failed to realize that it was, in fact, a culinary April Fools’ Joke. However, it did make me consider different combinations of breakfast toast toppings. Who’s to say you have to choose between peanut butter and jam? Or that sea salt won’t balance out the sweetness of honey? I’ve ended up adopting the winning combo of chunky peanut butter, a drizzle of honey and a sprinkle of sea salt for my own toast (on days when I have time to make a multi-step breakfast, that is). It takes a relatively plain breakfast and adds just enough depth of flavor to elevate it from averagely edible to delicious. I highly recommend everyone give it a try!

wheat bread loaf whole

Light Wheat Bread Recipe

Yields one 2 lb. loaf. From Peter Reinhart’s The Bread Baker’s Apprentice.

Ingredients

  • 2.5 cups bread flour
  • 1.5 cups whole-wheat flour
  • 1.5 Tbsp honey
  • 1.5 tsp salt
  • 3 Tbsp powdered milk*
  • 1.5 tsp instant yeast
  • 2 Tbsp unsalted butter, room temperature
  • 1.25 cups water, room temperature

*Don’t have powdered milk on hand? Take out 3 Tbsp water and substitute 3 Tbsp low-fat milk, adding it along with the other wet ingredients.

  1. Stir together dry ingredients in a mixing bowl. Add butter, honey and water and stir until the ingredients form a ball. If the dough isn’t coming together or seems too dry, add a little more water a few teaspoons at a time. Better that it’s a little too wet at this point rather than too dry.
  2. Turn dough out onto a floured counter and knead for about 10 minutes. The dough should be tacky but not sticky, and register 77ºF to 81ºF. Transfer to a lightly oiled bowl and cover with plastic wrap.
  3. Let rise for 1.5-2 hours, or until dough doubles in size.
  4. Turn dough out onto a lightly floured surface and press it into a rectangle about 6 inches wide and 8-10 inches long. Form the dough into a loaf by rolling it up, pressing the seam of the roll as you go to create surface tension (that’s how you’ll get a good crust). Transfer loaf to a lightly oiled (or buttered) loaf pan, mist with spray oil, then cover loosely with plastic wrap.
  5. Proof the loaf for about 90 minutes. The dough should crest above the lip of the pan, but shouldn’t swell so much that it overflows the pan. Preheat the oven to 350ºF when the loaf is almost ready.
  6. Put the pan in the oven and bake for 30 minutes, then rotate the pan 180 degrees and continue baking for another 15-30 minutes. When the bread is done it will be golden brown and sound hollow when thumped from the bottom.
  7. Remove the bread from the loaf pan immediately when you take it out of the oven and cool on a rack for at least 1 hour before slicing and serving.

light wheat bread loaf sliced

lavash crackers

Year of Bread: Lavash Crackers

I’ll be honest — this hasn’t been my favorite recipe in The Bread Baker’s Apprentice. It isn’t even my favorite cracker recipe. That honor goes to Smitten Kitchen’s flatbreads with honey, thyme and sea salt, which I have made twice in rapid succession and are so addictive that I’m slightly afraid to make them again. But in the interest of forging ahead through the book, I’m including my take on Reinhart’s recipe for your reading pleasure.

lavash crackers

Why Are Crackers in a Bread Book?

The dough used for these crackers is actually pretty versatile. It’s a simple formula that makes a soft, stretchy dough that rolls out well. Rolled very thin, the dough bakes up quickly into thick, crunchy crackers. Rolled a little thicker and slightly underbaked, they end up as something like a lavash wrap (perfect if you’re in the habit of making wraps instead of sandwiches for lunch). And if you cut the dough into circles and bake it at very high temperatures (500°F), they’ll puff up into a nice pita bread. Perhaps unsurprisingly, the texture and flavor of these reminded me of pita chips (and would be awesome with hummus).

lavash cracker dough

Lavash Cracker Toppings

Since crackers often end up getting dipped into all sorts of good stuff, they don’t necessarily need a ton of extra flavor on their own. If you’re planning on pairing these with a dip or a spread, you keep your toppings to a simple sprinkle of sea salt on top right before you bake them.

I threw a bunch of different things on top of my batch of crackers to see what worked best. I used fresh black pepper, thyme, sesame seeds, and hot paprika, all with a bit of sea salt. Much of the chunkier toppings ended up falling off pretty quickly. However, I really loved the hot paprika and sea salt. The next time I bake this cracker recipe (or another one), I’ll probably repeat that combo for the whole batch. Whatever you end up choosing, keep in mind that a little goes a long way flavor-wise, especially for spicier ingredients, since the flavor of the cracker itself is pretty neutral.

image_18724878821_o

Lavash Crackers Recipe

Yields 1 sheet pan of crackers. Adapted from Peter Reinhart’s The Bread Baker’s Apprentice.

Ingredients

  • 1.5 cups bread flour
  • 1/2 tsp salt
  • 1/2 tsp instant yeast
  • 1/2 tbsp honey
  • 2 tbsp vegetable oil
  • 1/3 – 1/2 cup water, room temperature
  • Hot paprika and sea salt for topping
  1. Combine the dry ingredients in a mixing bowl. In another bowl, whisk together honey, oil, and 1/3 cup water. Pour honey mixture into dry mixture and stir to combine. If the mixture is too dry, add the remaining portion of water.
  2. Turn the dough out onto a floured work surface and knead for about 10 minutes. The dough should be firm, but stretchy and satiny to the touch. Form the dough into a ball and transfer to a lightly oiled bowl, then cover.
  3. Let ferment at room temperature for about 90 minutes, or until dough doubles  in size.
  4. Preheat the oven to 350°F.  Mist your work surface lightly with spray oil, then turn the dough out onto the surface. Dust the top of the dough very lightly with flour. Press the dough into a rectangle. Use a rolling pin to roll the dough out into a thin sheet, about 15×12 inches. If the dough doesn’t stay rolled out very well and tries to spring back, stop working on it and let the gluten relax for a few minutes, then continue. You can lift it up by one end (carefully) and wave it a little to help this process. When the dough reaches the desired thinness, let the dough relax for 5 minutes. Line a sheet pan with baking parchment and carefully transfer the dough to the parchment (it shouldn’t stick to the work surface). If the dough hangs over the edge of the pan, trim it with a sharp knife or scissors.
  5. Mist the top of the dough with water and sprinkle on any toppings that you’d like to add. If you want your crackers to be specific shapes (rectangles, long strips, and triangles are good options), cut them now. Don’t worry about separating the pieces — they’ll break apart easily after baking. Otherwise, you can break the cracker sheet apart into less uniform pieces (some might even call them “rustic” crackers) after it has cooled.
  6. Bake for 15-20 minutes, or until crackers begin to brown evenly across the top. Note: Keep an eye on the crackers for the first few minutes in the oven — if you’ve got any air pockets, they’ll swell into big bubbles. You can attempt to keep them at bay by poking them with a sharp knife early on in the baking process, but the longer you wait the less you can do about it (hence the mega bubble in my batch, as seen below).
  7. After you take the crackers out of the oven, let them cool in the pan for about 10 minutes. Then just snap them apart or break them into shards and serve.lavash crackers bubble
peanut butter cookies

Teach Others to Cook to Improve Your Own Cooking Skills

Here’s a piece of advice that holds true across many fields: if you want to test your knowledge of a subject or concept, try explaining it to someone else. Even if you’re not a pro chef, you can learn a lot about cooking from teaching other people how to cook. Before you start inviting friends over to show off your cooking chops, make sure you go in with a game plan. Here are a couple tips on getting the most out of your cooking lesson to help set you and your kitchen padawan on the road to cooking Jedi masters.

1. Include Shopping in Your Lesson

When Bon Appétit Magazine hosted the fantastic Ina Garten on their podcast, they asked her about developing recipes for inexperienced chefs. Ina mentioned that she likes to give new recipes to a friend, and then observes them as they prepare the dish. This includes watching them hunt down ingredients in a grocery store to see where they might stumble — do they pick up dried basil instead of fresh, or struggle to choose between garlic powder and garlic salt? From there, Ina edits her recipes to make them as clear and easy to follow as possible, even for inexperienced chefs.

Shopping can be either one of the most fun or the most frustrating part about learning to cook. Getting home with a bagful of groceries just to realize that you bought the wrong ingredient can be disheartening. Shopping with your cooking buddy is a great test of how well you really know your ingredients. Taking a trip to the store before you cook with someone else can force you to think about questions like “Can you substitute anchovies for sardines?” and “How do you know if this avocado is ripe?”  Shopping together also helps to ensure that your student will be able to replicate the dish on their own.

2. Allow Extra Prep Time for New Techniques

Not everyone cooks at the same pace. Someone who doesn’t cook frequently is likely to move a little slower with a chef’s knife than someone who chops vegetables on a daily basis. Dishes that require ingredients to be added in a certain order or at a certain time can easily fall off track if your assistant is only halfway through dicing their first carrot when the pan is hot and ready. Make sure that you give yourself and your student a little extra time for learning the nuts and bolts of the cooking process.

Prep time is also great moment to practice (and teach) the concept of mise en place — preparing and setting out all of your ingredients before you helps prevent those “wait, wait, I’m not ready!” moments when the pan’s over the flame and the onions are starting to burn.

3. Assign Specific Tasks

It’s easy to end up doing everything yourself if you’re used to cooking alone. By giving your cooking partner specific tasks to execute, you can make sure you don’t end up doing all the work yourself. Keep in mind that you want those tasks to help them learn how to make the dish, so try not to relegate them to dish washing duty if they’ve never chopped an onion or cleaned a chicken before.

Explain how to perform the best techniques and processes as you go, especially if your cooking buddy is an inexperienced cook. You’ll both get much more out of the lesson if you’re practicing good habits as you go, instead of trying to correct them later.

4. Simplify and Clarify Instructions

It’s a quirk of practically every hobby and industry — insiders develop a language specific to their niche. When that happens, it can be easy to forget how to speak in more generalized terms about that subject. If your student is unfamiliar with the language of cooking, even relatively simple terms like mincing and dicing might be confusing. Don’t avoid using cooking jargon, but make sure that you’re being clear about what the terms you’re using actually mean. Encourage your student to ask questions and speak up if they get confused.

Another important factor in making cooking clearer is explaining why you do what you do. If you’re cutting all the ingredients of a stir fry into small cubes so they’ll cook more evenly, that’s a valuable piece of information to give your student. Understanding not just how to do something but why to do it is incredibly empowering in the kitchen.

5. Identify Your Own Knowledge Gaps

As you cook, you’ll inevitably be asked questions. You’ll be able to answer some of these questions easily. Some might leave you reaching for your phone for a quick Google search (or reaching for your favorite cookbook). These are great moments to assess what you still need to learn yourself. Make sure that after you’re finished with your lesson, you circle back on your own and figure out ways to improve your own skills and knowledge base.

Most importantly, remember to have fun! Teaching someone to cook is as much about introducing them to how much fun it can be to cook as it is about teaching them how to make food. Once you’re finished cooking, be sure to open a bottle of wine, sit down, and enjoy the fruits (and vegetables) of your labor together– before you start washing all those dishes.